Monday, December 3, 2012
Day 1 - Gift card holder - 12 days of Holiday gifts and ideas
I have been such a slacking blogger lately that I am challenging myself to 12 days of Holiday projects! I can not believe how long it has been since I have posted anything... This is my holiday mojo kick start, if you will, and you are invited along for the ride.
Welcome to day number one!
This is a card/gift card holder.
You pull the ribbon and out comes the gift card.
Now for the deets.
The patterned paper is by Echo Park but it is from last year. I cut the rosette with the Ribbon and Rosettes Cricut cartridge.
Thank you for clicking by. Be sure to come back tomorrow for more holiday inspiration in the form of a layout.
Labels:
Christmas,
Ribbons and Rosettes,
Scrappy Moms stamps
Thursday, October 4, 2012
Girly layout
This layout is all about my (sometimes crazy) daughter. All I did was play with scrap paper to put this together. I opened up my drawer of pink and had fun inking it all up using Vintage Photo. She loves the hidden journaling in the envelope and the popped up heart.
Have a great day!
Sunday, September 23, 2012
Tropical cards
One thing that I love about making cards is that you can add so many different things to embellish them. My son is turning 12
I made this card with the Life's A Beach and Aloha Cricut cartridges. I tore, inked and distressed just about everything. I wrapped the torch in jute and added raffia as well.
I am entering my card for the challenge at Fantabulous Cricut.
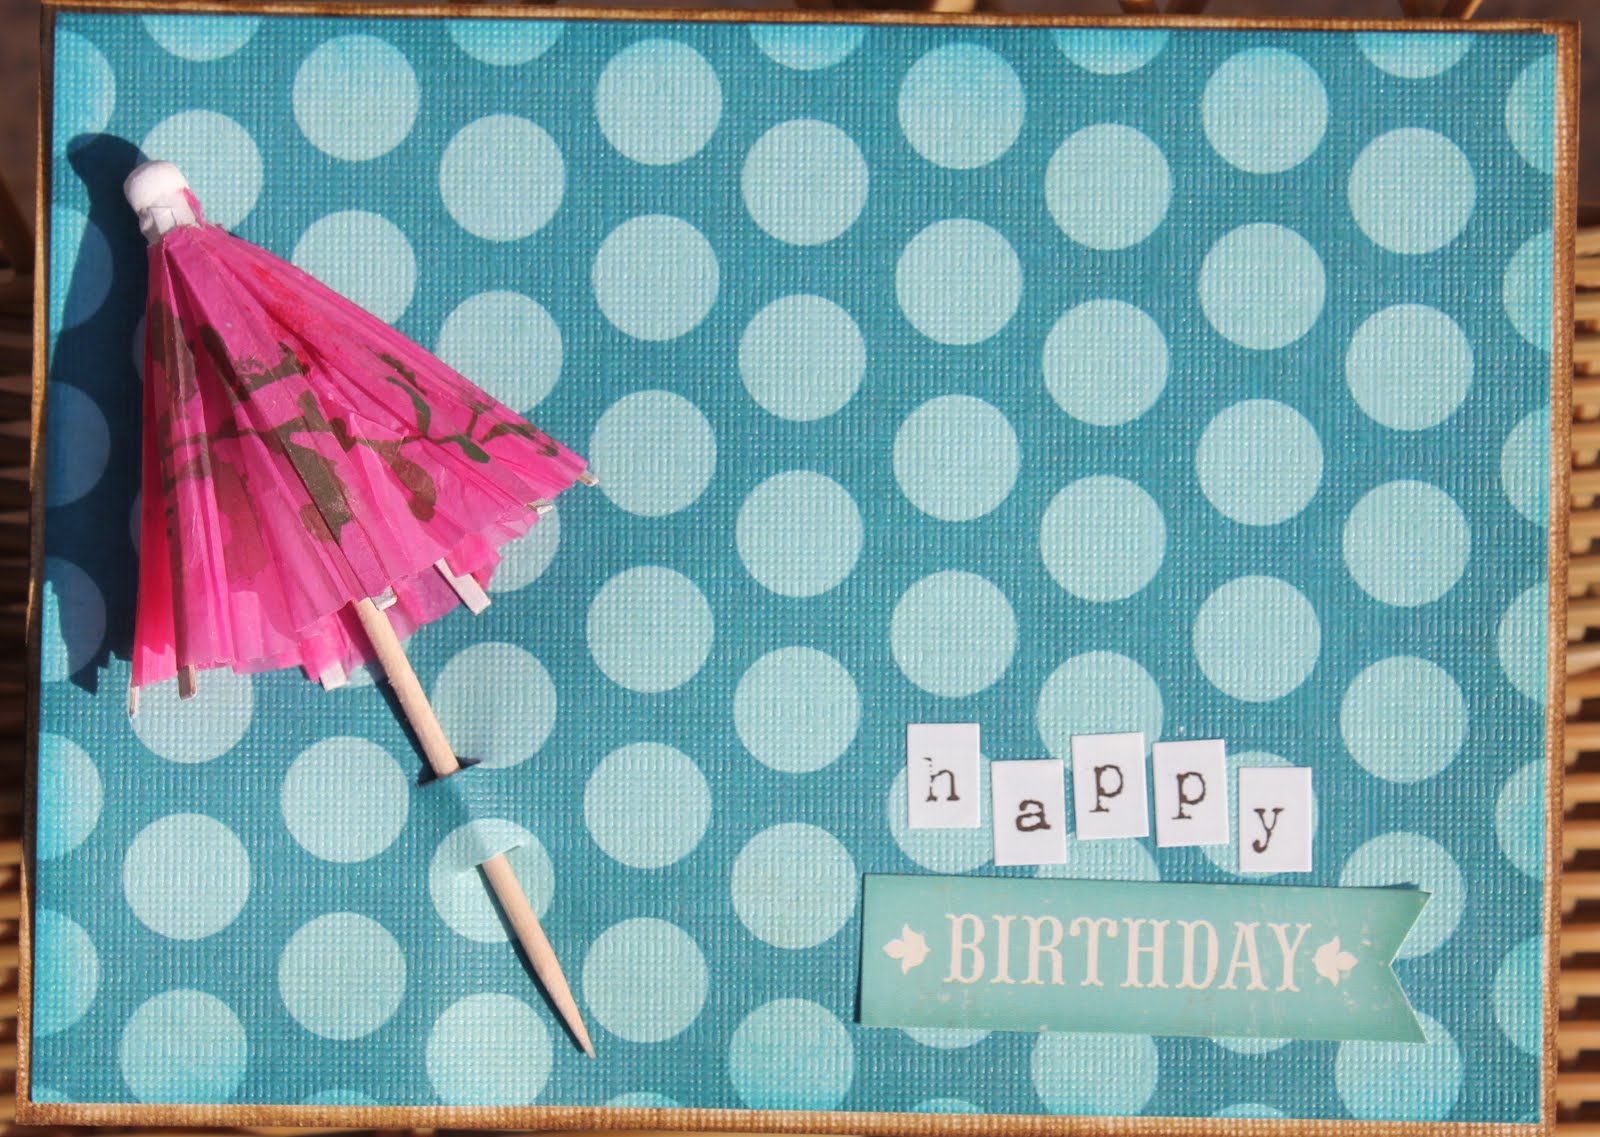
Here is another birthday card that I wanted to look fun and "summery". Sooo, I added an umbrella meant for a beverage.
Thanks for looking!
Tuesday, September 11, 2012
Penguin Party
Warning - party post not a very scrappy post.
My daughter is still very much into penguins, for her birthday party all she wanted was a penguin theme! I decided to turn to Pinterest to help me figure this one out. Here are some pictures from her party. I found ALL of these ideas on Pinterest.
I was so happy to make these puffs. I found a Youtube video and was shocked at how easy they are to make. They are such an inexpensive party decor item! I also decorated our mantel with all the penguin stuffies.
I may have found this idea but it was my MIL who made this bean bag toss game.
My daughter loves to eat olives and hard-boiled eggs so I knew I needed to include some "penguins" in the menu.
This was the craft that the guests created. The clear ornaments were purchased at Michaels. We put glitter inside with hairspray and then painted the outside with acrylic paint.
I was so happy when I saw a penguin gift bag creation on Pinterest. I bought the black lunch bags at Michaels. I cut the face from the Create A Critter Cricut cartridge but I had to thin him out a bit with my Gypsy.
I am fairly new to pinning online and am so happy with how easy it was to collect ideas and make an inspiration board.
Have a great day!
Monday, August 27, 2012
Back to School layout
It may seem like I am super organized for back to school next week but if you look carefully at the layout it's from 2011. I needed to get this done before the 2012 pictures were taken!
These papers are all by DCWV and all of the school stickers are from Reminisce.
The countdown is on, 9 more days until they go back. We are quickly trying to squeeze out every bit of summer vacation we can!
Tuesday, August 21, 2012
Penguins and a baby card
Halloo! We are back from a summer road trip. Our family drove out west. We visited cousins for a few days, went to Drumheller, Alberta to tour the dinosaur museum and then we went to Calgary to hang out with some penguins. Our trip was wonderful!
That is my DD standing next to Tut, a king penguin. They seemed to gravitate to her, maybe sensing her love for them? Maybe because she is wearing black and white?
He even tried to follow us out.
Lastly, here is a new baby card for my hubby's co-worker. There are many cards like this on Pinterest and I had just purchased some clothes line clips soo... I had to scraplift this idea. Yay! I haven't made a baby girl card in awhile.
Thanks for stopping by!
Thursday, August 2, 2012
Core Cards Creative Frenzy
I love playing with Core'dinations paper! I enjoy that it is so versatile for cutting, embossing, sanding, tearing etc, etc... Here are three cards that I have created using Core'dinations paper.
"Loonie for you." My daughter will be ten years old in two days. I wanted to make her a card with a loonie coin ($1) she could pull off and spend. To make this card, I started out at the bank looking for a brand-new coin. I chose an embossing folder that I thought my daughter would like and used the folder as the design for the rest of the card. I sanded all the layers after embossing them with my Cuttlebug machine. I cut the diamonds with my Cricut machine but you could cut those easily with any paper trimmer. I used a glue dot to attach the money so it will be easy to pull off. The cork heart is actually a coaster from the dollar store that I hand cut. The alphas are by Crate Paper, the Pretty Party collection. The lace and twine, I purchased by the metre at my LSS. We are all about the puns in my house so I think she will love it!
I really enjoy creating effects using the black magic paper. I thought that the red kind of looks like thick velvet curtains when you sand it and that the yellow looks like a light or spotlight. That is the basis for this card. I used my trimmer to cut out two rectangles for the side curtains and then a strip for the fringe at the top. I scored each piece of paper every 1/2 inch. I do not own a scoreboard I just used my scoring blade. (Santa, if you are reading this please note that it would be lovely to own one.) I folded the strips of paper along the lines and voila - a stage. I sanded the paper on the folds that stick out hoping that would add more dimension. I then cut out a 4 and 1/2 inch square of yellow black magic and sanded the middle, like stage lights. The stamped sentiment is by Anna Griffen. The card background is something I created with my Gypsy. I welded a rectangle with rounded corners with another rectangle with this pretty edging. An edging punch could substitute for this effect.
For my third card, I began by looking up an online tutorial of paper airplane folding. (Just google it. There are many tutorials.) I followed the tutorial and scored my white cardstock along the way so it would fold nicely. I then cut out a shape card using my Cricut and Gypsy machines. The Gypsy was to weld the two clouds together so they would make a shape card. The actual clouds are both from the Create A Critter cartridge. I sanded all of the cloud edges just using plain old sand paper from the hubs. I adhered the plane using two glue dots and stitched the tracks with white floss and a needle. The alphas are called "Teeny Alpha" by Glitz.
Thanks for looking!
Have a great day!
Subscribe to:
Posts (Atom)